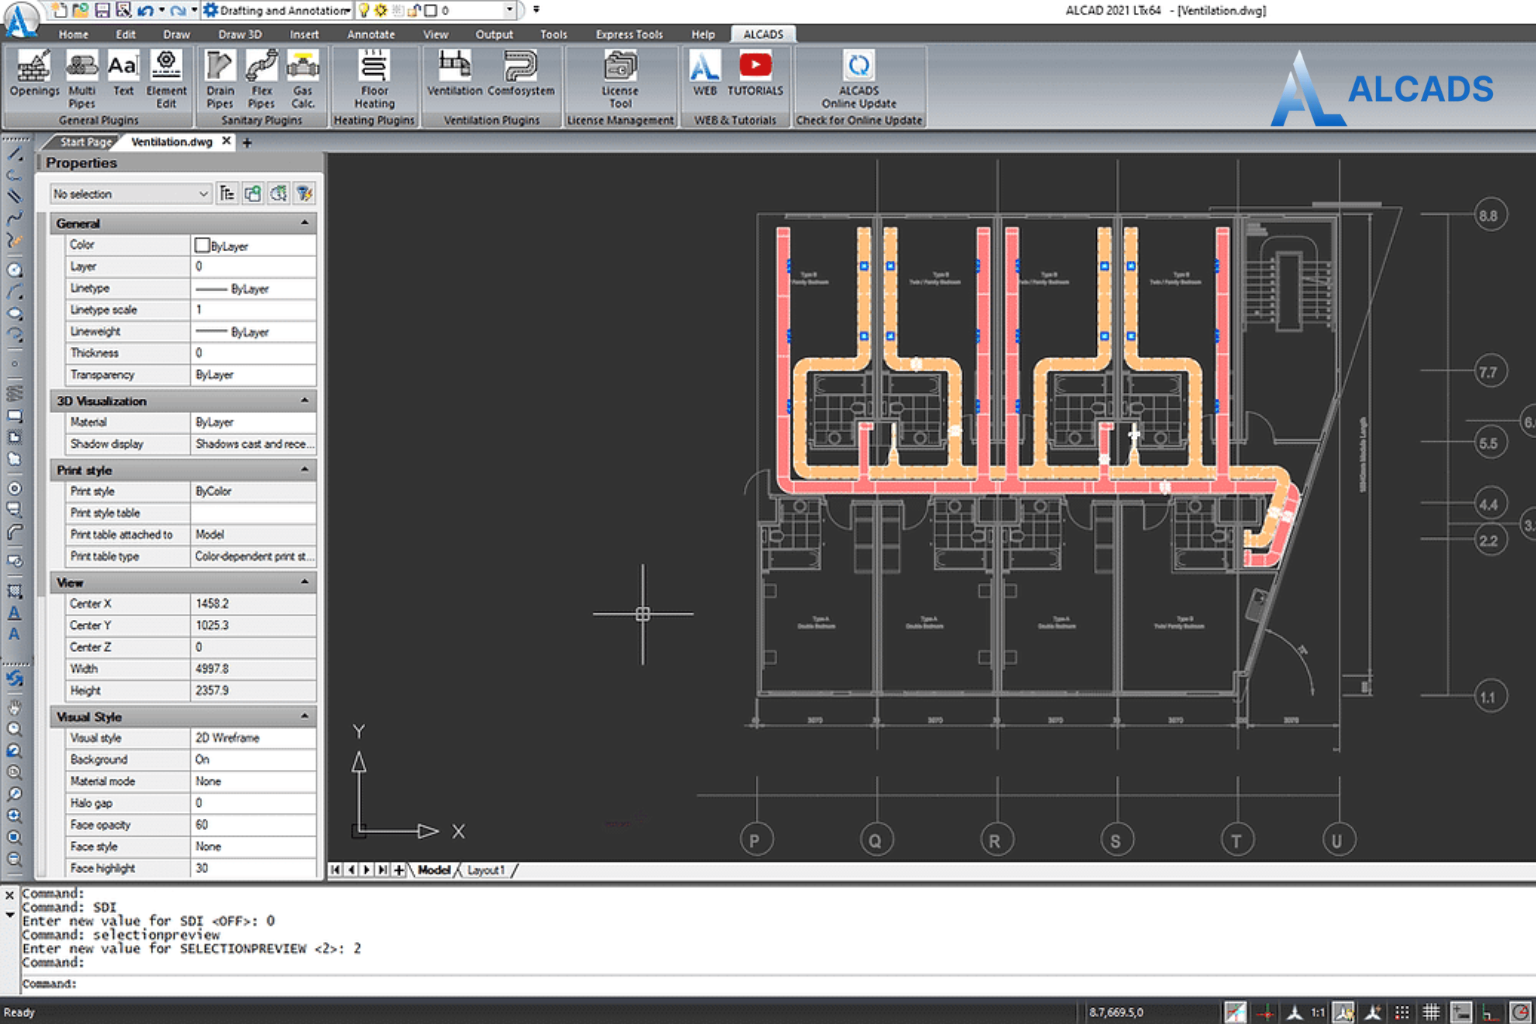
How to Create Accurate MEP Drawing in 2D Using AutoCAD MEP 2D
Kickstart your next MEP project with exact accuracy using AutoCAD MEP 2D! Making accurate MEP drawing in 2D needs more than drafting skills; you need the right setup, guidelines, and workflow.
In this guide, you’ll learn how to use the special AutoCAD MEP toolset to draft mechanical, electrical, and plumbing layouts with clear, consistent results. Whether you are an experienced 2D MEP CAD technician or just starting, these tips will help you make high-quality professional drawings every time.
Understanding the AutoCAD MEP 2D Toolset
AutoCAD MEP 2D offers an industry-focused toolset for Mechanical, Electrical, and Plumbing drafting, increasing productivity by as much as 85%. This collection includes more than 10,500 smart MEP objects, like HVAC ducts, lighting fixtures, and piping parts drafting, so that you can drag and drop items directly into your 2D layouts. Using the AutoCAD MEP 2D environment makes sure all symbols and notes follow industry rules, helping you cut down on manual fixes later.Setting Up Your 2D MEP Drawing Environment
Define Scale and Units
Before you start drafting, set your drawing scale and units clearly to avoid misalignment and sizing errors. Use the UNITS command to set precision and adjust the primary units to at least three decimal places for piping or duct layouts.Organize Layers and Styles
Make separate layers for each MEP discipline (e.g., “HVAC‑Duct,” “ELEC‑Lighting,” “PLMB‑Pipes”) and use consistent colors and line types. Set dimension and text styles first, applying exact settings in your DIMSTYLE manager to keep annotations the same across all views.Leveraging Tool Palettes and Content
Customize Your Palettes
AutoCAD MEP 2D’s Tool Palettes let you save your often-used objects, like elbows, tees, and diffusers, so you can quickly add them with one click. Group palettes by system (mechanical, electrical, plumbing) to speed up your MEP drawing in 2D workflow and cut search time.Use Dynamic Blocks for Reusability
Dynamic blocks let you quickly make symbols you can change, like a diffuser block that you can rotate and resize on the spot. Standardize key parts as dynamic blocks to shrink the file size and keep everything the same when different people work on the project.Drafting Accurate MEP Drawings
Follow Drafting Standards
Follow local and global codes (like ASHRAE for HVAC or NEC for electrical) and use the right symbols and note styles. Use the same line weights and colors for each discipline, so plans are clear, even in tight layouts.Employ Annotation and Labeling Tools
Use AutoCAD MEP 2D’s auto-tag feature to quickly attach system names and part numbers to items. So you don’t have to type text by hand. Use auto-scaling for all labels so they automatically change size with the view scale, keeping text readable on every sheet.Verifying and Finalizing Your Drawings
Convert and Export
If you started in 3D or need to share specific parts, use the CREATE 2D command to turn chosen objects into flat 2D shapes. Export to DWG or PDF while keeping all layer and style settings so contractors get fully editable files.Quality Control Checks
Do a quick spot‑check of key measurements with the DIST and ID commands to ensure they match project specs. Check layer visibility and line styles in paper space layouts so no hidden elements affect clarity in printed sheets.Best Practices for the 2D MEP CAD Technician
- Continuous Training: Keep up with Autodesk’s latest MEP toolset updates and online tutorials.
- Template Management: Create and maintain drawing templates (.DWT) with preset layers, styles, and title blocks.
- Collaboration: Store and share standards and templates on a central drive to keep everyone aligned.
- Documentation: Write your workflow steps in an office guide to help new 2D MEP CAD technicians get up to speed quickly.
Why Choose ALCADS for Your 2D MEP Drawing Needs?
ALCADS provides a tool that meets the needs of MEP professionals on every project. Making each MEP drawing in 2D always accurate, fast, and consistent.- Tailored for MEP Professionals: ALCADS is a AutoCAD MEP 2D tool, with features designed to speed up your 2D drafting.
- Large Library of Smart MEP Components: It has over 10,500 smart MEP parts—like HVAC ducts, lighting fixtures, and pipe fittings—so you can place items correctly and finish designs faster.
- User-Friendly Interface: The easy-to-use interface looks like standard CAD, so 2D MEP CAD technicians can learn it fast with little training.
- Streamlined Drafting: Custom tool palettes and dynamic blocks help your team use the same symbols and cut down on repeated tasks for consistent results.
- Always Up to Date: Regular updates and support from ALCADS keep your MEP drawing in 2D setup working with the newest CAD system requirements.
- Dedicated Support: Get expert help and resources whenever you need answers.
